Sketchup and Buiding Directions
Building a Chevalet Without Sophisticated Joinery
In order to get the most from your french marquetry training you really do need to have a chevalet. As mentioned on the “Acquiring a Chevalet” page on this site, there are a few alternatives. You can buy a kit, build from scratch, or you can have someone build one for you.
Assuming you decide to build ….. Let’s look first at the simplified plywood construction alternative.
The components of a chevalet can be broken into three parts. They are the “furniture”, the “working wooden parts” and the “bearings and metal parts”. The latter two are much the same no matter which direction you take but there are options in the “furniture” department. Up until now this part has meant solid hardwood and considerable woodworking skills and tools.
This blog presents another option, a simplified construction aimed at hobby level woodworkers . It will detail the construction of a perfectly serviceable chevalet that can be built (in large part) from a single sheet of 3/4” plywood, available at your local big box store or lumber supplier.

This Photo shows our starting point, a sheet of 3/4” plywood purchased at a big box store and cut at 29”on the 8' dimension in order to be easily transported home. If using the new OnShape drawings check for this cut line first.
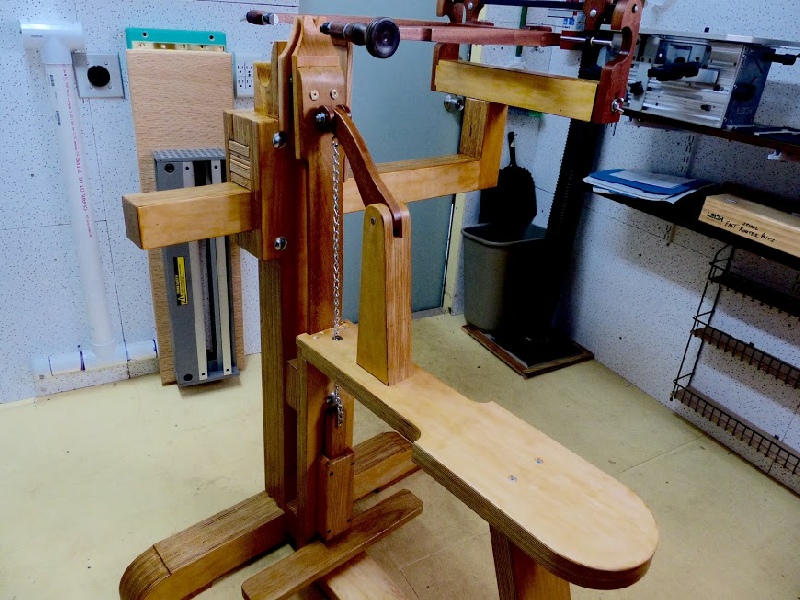
This one shows the main structural parts of the chevalet cut, assembled, and glued up from that sheet. Interlocking layer plywood construction eliminates the need for sophisticated joinery. This blog and the associated Sketchup Model or OnShape drawings will walk you through the steps required to complete this build and give you the best tool available for cutting marquetry.


The cutting plan in the Sketchup model shows an initial rip cut at 29” on the long dimension. This can be done at the store to facilitate getting the sheet in a car etc. Whether or not you have made this cut, the next step is to rip the 29” side into strips according to the plan. These strips can then be broken down into blanks for the various elements. The other side of the plywood sheet will need to be broken down with a jigsaw or bandsaw. OnShape cuts will differ.


Next cut the pieces out according to the dimensions in the SU model or onshape drawing. Cut just outside the line and make all the pieces identical by trimming them with a flush cutting router bit. On the prototype shown here we worked with MDF patterns for this but you can also just finish one piece of each shape perfectly to the line and use it as a pattern.


Dry-assemble each element from its parts in layers, making sure all the edges line up and the pieces fit snugly. Fasten with a few screws.


Disassemble, add glue and reassemble using the same screw holes to assure proper alignment. Check to be sure no screws are in line with holes that will need to be drilled out later. Screws in the last layer can be removed and puttied or plugged after the glue cures.


When gluing up the post at the end of the arm, clamp scraps of plywood to the sides of the tabs at the top to align them.


Use a 3/8” core box bit to cut a half round groove in the centre of each of the two inner carriage pieces. They are the ones with the cutout notch in the bottom. This groove may not present in the pre-cut pieces and if not must be done here.
Assemble the carriage as in the photo.


You should now be able to clamp up the main structure of the column / arm / carriage assembly. Reducing the thickness of the spacer pieces on the back of the face plate by 1/8” will make for a better clamping action by the four 1/2” bolts.

The seat parts can be cut out and trimmed in the same way as the column / arm parts were. Notice that some of the parts are cut at a 15 degree angle to facilitate fitting of the angled leg. These can be easily cut on a mitre saw or a table saw.
The OnShape drawings offer a simpler square option.
You will also notice a square recess and a dado that can be done with a router or again a table saw (for the dado).
Assembly is the same :
1) dry assemble and screw together
2) disassemble, add glue, and reassemble using the same screw holes.


When the main structure is complete add the strips that fit under the widened edges of the seat. They can be trimmed to exact fit with a router after the glue dries.

The Swooping “parts catcher” at the top of the column can be fashioned from a single block of wood or made up from plywood pieces as we did here. It just glues on as there is no stress on it.


Once glued up, it can be final shaped with planes and sanders. The two long pieces of the column will become part of this shape.
You should end up with a perfect double mortis and tenon joint that is barely discernable when cleaned up.


Cut and assemble the pillar for the spring link and glue it in its mortis per the Sketchup (OnShape) plan.

Carefully dry fit the spacer blocks, clamp them in place, and drill ½” holes for the assembly bolts. It is best to drill one of the pieces on a drill press first and then use it to align the drill square to drill the others. Having old boat building drills around doesn’t hurt but you can get it done with normal drills too. Blocks not included in kit.


That about does it for the “furniture” part of the chevalet build using the Sketchup plan and building from scratch.
…... Unless, that is, you want to make it pretty. Not to say that good plywood cleaned up and finished can’t be attractive but we are veneer people here are we not? On the prototype the new owner decided to get some practice with the hammer veneering techniques we touched on in level one. Now she has a lovely Mahogany chevy. Congrats Kendra!
*************************************************

***** Start Here if you are using the pre-cut parts. *****
This is a good time to make the recess in the ends of the carriage to accommodate a 3/8” washer and nut, each end and also to check for square at the joint of these parts.


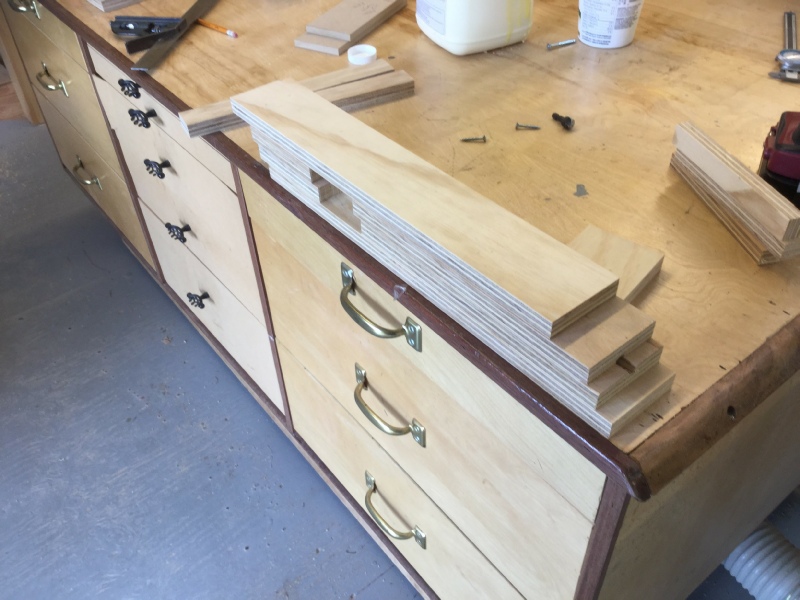
To be fair and give equal time to the nicely finished bare plywood version, Here are a couple of shots of David and Linda’s finished kit …. plywood and proud!
Congrats to you both as well.